No products in the cart.
Glass mosaic tiles can give your master bathroom and kitchen a fresh look. Explore home remodeling magazines to see how these tiles are installed in the bathroom and in the kitchen. Look at mosaic tiles in the custom home models in your locality because you will be astonished to see the natural look of the mosaic tiles. These tiles are more suitable in backsplash in your kitchen and bathroom. The tiles for the backsplash can be installed in a matter of days. You can easily install mosaic tiles by reading this review. To install the tiles, follow these steps.
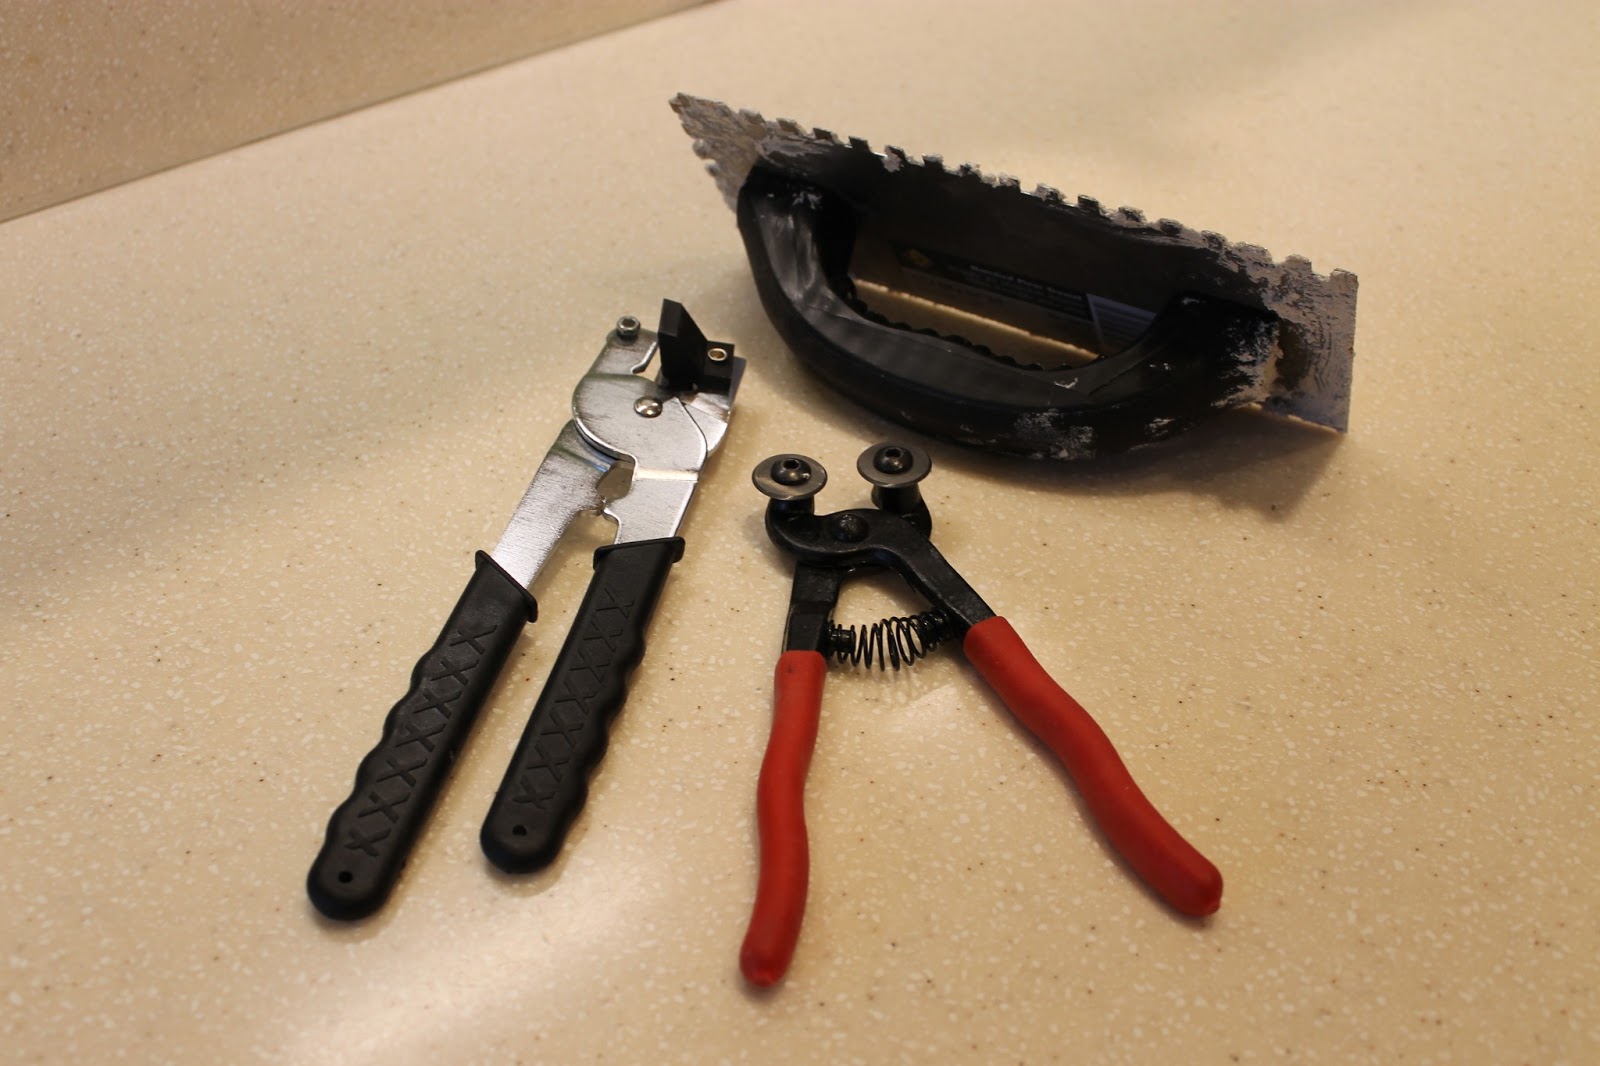
Important instruments needed to install glass mosaic tiles
Glass tiles, Tile cutter, sandpaper, non-sanded grout, safety glass, pencil, spacers, a trowel and bucket.
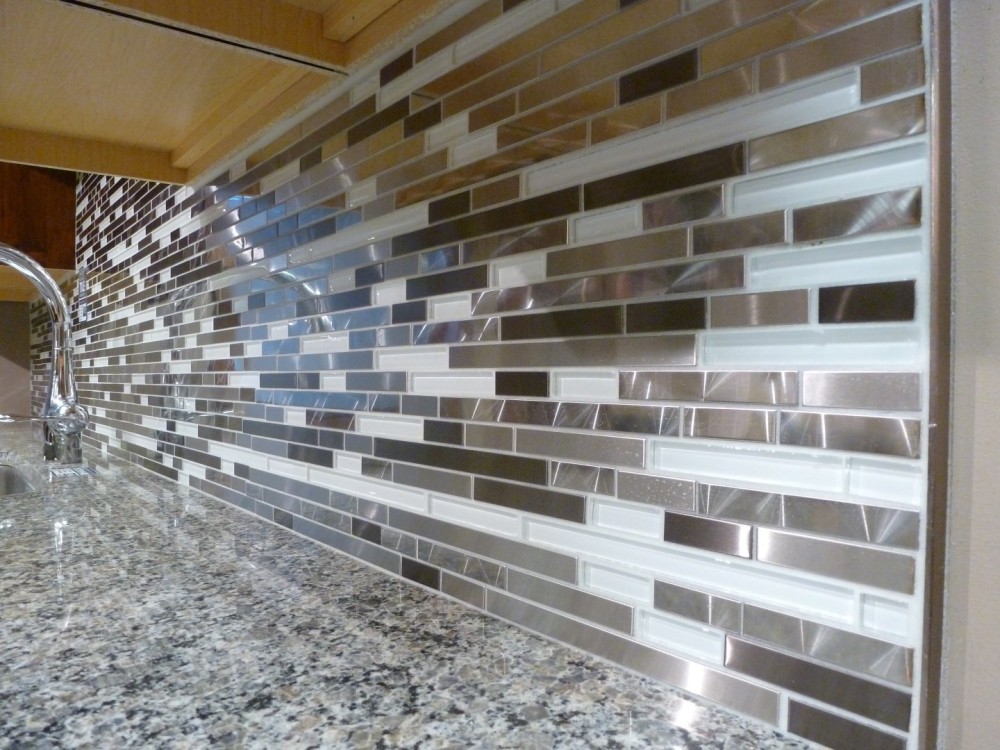
The tiles for backsplash are available with a variety of color and size. Before buying the full box of tiles, check the quality of the tiles from the internet. It is easy to collect sample tiles from an internet shop. To find the best tiles for your home, review some home remodeling magazines and visit a reliable online shop. The glass mosaic tiles are available in the range of 2″ x 2″, 4″ x 4″ on the market.
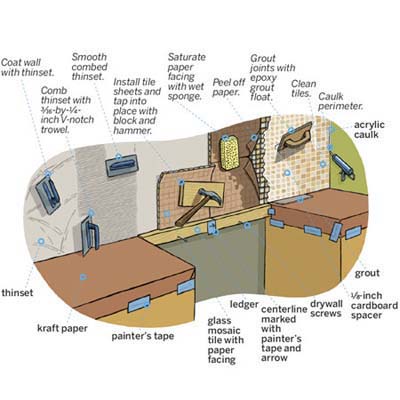
Measure the area of the backsplash and lay down all the tiles on a flat surface. Use the pencil to mark the side to cut down for proper placement of tile.
After marking the tile, cut the tile with a tile cutter and use your safety glasses. Cut the tile evenly and in the right manner for a proper set up. Place the tile on the flat surface after cutting and arrange them correctly on the wall of the backsplash.
Spread the mastic evenly on the surface by a trowel. Set up the first tiles from the bottom and continue it to the counter top of the backsplash. Lightly tap the tiles in place with a hammer. Use spacers to maintain a gap between two tiles and apply grout in this area to cover.
To know more about installation of mosaic tiles on a backsplash, visit the online shop. You can order tiles from this shop and get ideas about home remodeling.
Blackout Glass Mosaic Tile Pattern – Checkered Crystal Glass Tile Mosaic Strip – Coffee Bean Glass/Stone Backslash Tile – Curved Bamboo Basket – Desert Blend Glass Mosaic Tile Pattern – Walnut Glass Mosaic Tile Pattern


